
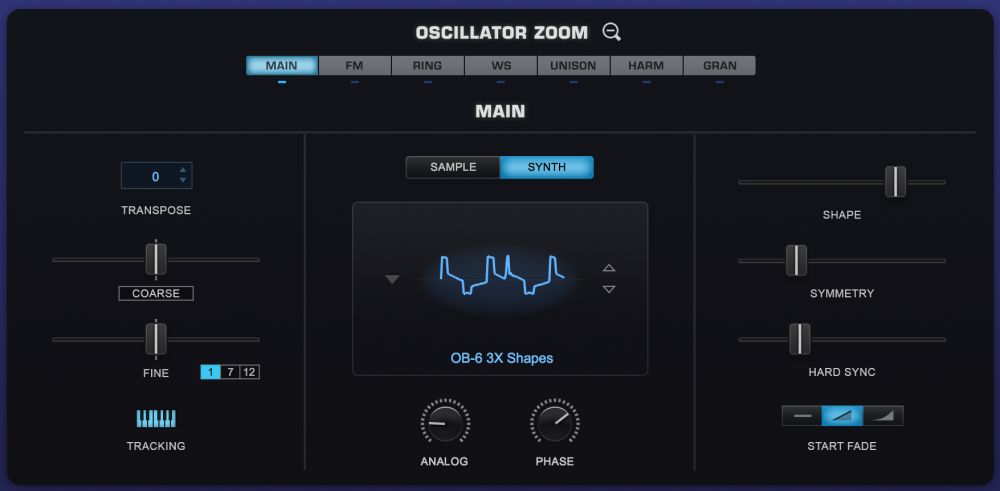
The Main OSCILLATOR ZOOM Sub-Page contains many of the controls already present in the Layer Page, with some additions and a different layout. Some of the controls will change depending on the selected Oscillator mode.
TRANSPOSE
TRANSPOSE works like MIDI transposition and pitch changes are made in semitones. Changes in pitch don’t affect the sound quality of the Oscillator. This control is most often used to set the oscillators at different semitone values, such as octaves or other intervals. TRANSPOSE offers the best available sound quality, but it is not modulatable.
Range -24 semitones to +24 semitones
COARSE
The COARSE control operates in a similar way to FINE, but with a much larger range. Unlike TRANSPOSE, using COARSE does affect the sound quality of the Oscillator, but it is a modulatable control. COARSE is useful for wide-range pitch modulation FX.
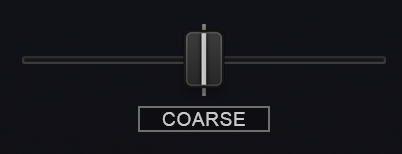
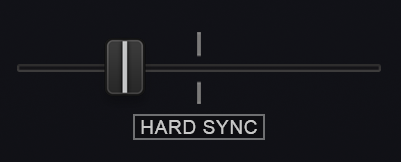
Clicking on the COARSE button toggles between COARSE pitch and HARD SYNC mode and is only available on SYNTH mode.
When HARD SYNC is selected, any COARSE pitch modulations will be changed in the Mod Matrix to Hard Sync for that Layer only. Re-selecting COARSE changes the modulations back.
Range -4800 cents to +4800 cents
• The HARD SYNC control is a duplicate of the HARD SYNC control on the Layer pages.
Range 0.0 to 1.0
FINE

The FINE control is the most precise, changing the pitch in 1cent increments. The most common use of a fine pitch control is to detune the oscillators a small amount (less that 15 cents) from each other, causing them to sound richer.
The FINE range is selectable between +/- 1 semitone (half-step), +/- 7 semitones (perfect fifth), or +/- 12 semitones (one octave)_
- Range [1] -100 cents ~ +100 cents
- Range [7] -700 cents ~ +700 cents
- Range [12] -1200 cents ~ +1200 cents
TRACKING
If the TRACKING (also known as Keyboard Tracking) switch is enabled, the pitch of the Oscillator will track the keyboard, meaning the root pitch will be changed with each key. When TRACKING is disabled, the Oscillator will not track the keyboard.
If a Soundsource is loaded, depending on the map, some keys may have static pitches.
|
Single Sample |
All of the keys will play the same pitch |
|
Multi-Sample |
The range of each sample will have the same pitch. For example, if there is a different sample mapped to each octave, then each octave will only play a single pitch. |
|
Chromatic Sample |
Since every key has a sample, there is no apparent change when Keyboard Tracking is disabled. |
Disabling Keyboard Tracking can be useful for drones, unusual sound effect or strange tonal combinations.
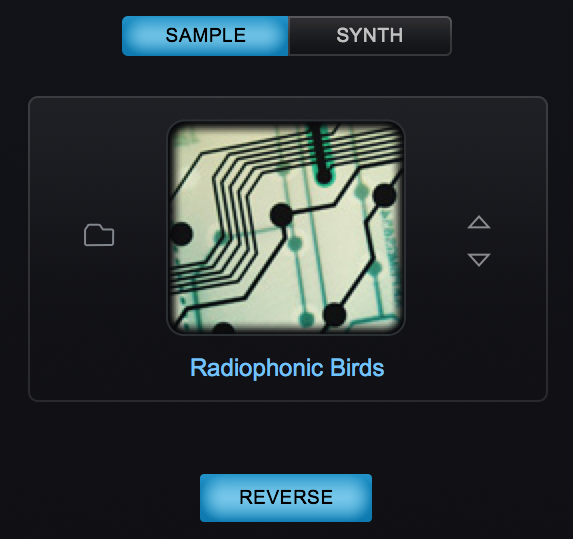
SAMPLE/SYNTH MODE SELECTOR

Selecting either mode switch will determine whether the Layer will be able to load a Soundsource (SAMPLE) or will utilize a DSP Wavetable (SYNTH).
SAMPLE MODE does not load a Soundsource by default. A Soundsource must be selected from the Soundsource Browser.
SYNTH MODE defaults to the “SawSquare Fat” waveform.
SOUNDSOURCE/WAVEFORM DISPLAY
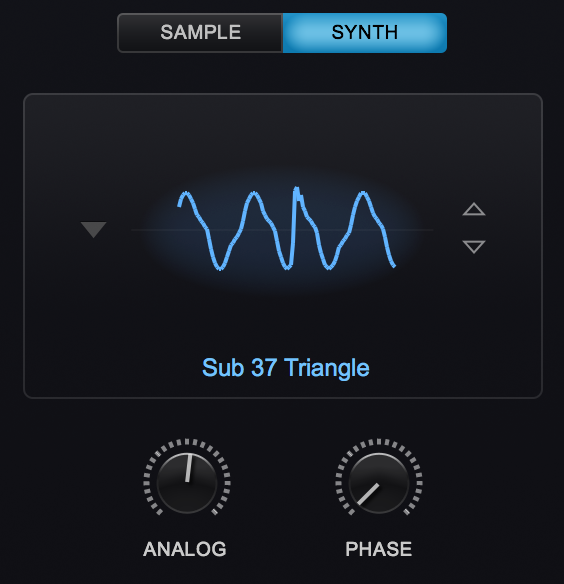
Depending on which tab is selected, the Soundsource/Waveform Display area displays an image of the loaded Soundsource (SAMPLE) or waveform (SYNTH). The steppers on the right allow you to step through Soundsources (SAMPLE) or wavetables (SYNTH). Clicking on the displays brings up the Soundsource Browser (SAMPLE) or the wavetable menu (SYNTH).
REVERSE (SAMPLE ONLY)

The REVERSE button appears at the bottom center of the of the Layer Pages and the Oscillator Zoom when the SAMPLE tab is selected. When engaged, it reverses the playback of the selected Soundsource for that Layer. The button is highlighted in blue when it is ON.
When REVERSE is enabled the loop points become inactive for the following reasons:
- You normally want to hear the attack when playing a sample in reverse, and it will not play if loops are active.
- Many times the looped section occurs at the tail of the sound, so that is all you would hear if loops were active.
- Samples which play something worthwhile when looped in reverse generally don’t sound much different when played forward or backward.
TIMBRE (SAMPLE ONLY)
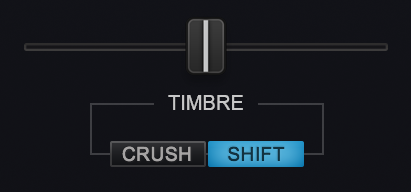
The TIMBRE slider alters the tonal characteristics of the Soundsource in different ways. There are two TIMBRE modes, CRUSH, and SHIFT. The center-point of this bidirectional slider is null—meaning no TIMBRE change will occur.
- CRUSH – Polyphonic Bit-Crushing (Distortion) and filtering are applied to the Soundsource. Bit-Crushing with a Low-Pass Filter is applied left of the center-point. Right of the center-point, Bit-Crushing with a High-Pass filter is applied. Timbre Crushing works effectively with any Soundsource.
- SHIFT – Transposes the mapping of the samples in one direction and changes the pitch in the opposite. This results in significant harmonic changes in the Soundsource. Moving the TIMBRE slider to the right will transpose the sample mapping down and the pitches up and vise versa when moving it to the left. When SHIFT is applied in either direction, the character of the Soundsource can change significantly. When SHIFT is used as a modulation target, the character of the Soundsource can change dynamically. The more samples that are mapped across the keyboard, the more pronounced the TIMBRE SHIFT effect will be. Conversely, with a texture or other Soundsource that only contains a single sample, SHIFT will have no effect.
NOTE: Because of the way TIMBRE SHIFT works, changes to the modulation of the TIMBRE slider must be re-triggered to hear the effect. TIMBRE changes cannot be heard on a sustained note.
START (SAMPLE ONLY)
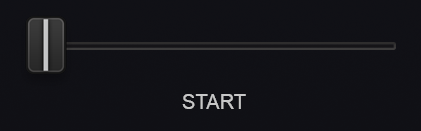
The START control determines where in the sample its playback will start when the Oscillator is triggered. Among other things, it can be useful to remove sharp attacks or clicks at the start of a sample. The range of this setting will vary depending on the number of samples in the Soundsource.
Soundsources such as Textures might have a single sample mapped across the entire keyboard whereas other types of Soundsources might have a great many mapped sample ranges. These ranges are called “Zones.”
The number of Zones determines the range of the Start control. Depending on the number of Zones contained in a Soundsource, its range can vary from 1 second (when there are many Zones) to as much as 90 seconds (in the case of one Zone).
START FADE

These are mode switches that control the shape of the start point. This can be useful for eliminating clicks that might happen at certain START offsets. These three mode switches set the duration of the fade-in:
 | No Fade-in |
 | Medium Fade-In |
 | Maximum Fade-In |
ANALOG (SYNTH ONLY)
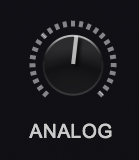
The ANALOG control allows inconsistency to be introduced into the pitch and phase of the oscillator, which makes Omnisphere sound and behave more like a vintage analog instrument. When the ANALOG control is set to 50% and lower, it destabilizes the phase of the oscillator. After 40% it will also destabilize the pitch. As the control is increased past 75% the pitch will become heavily-detuned.
The ANALOG control is found in the Layer Pages, the Main Oscillator Zoom and in the Unison Oscillator Zoom.
NOTE: The ANALOG control also affects Unison voices, so if Unison detuning is too drastic, you may want to lower the ANALOG control.
*PHASE (SYNTH ONLY) *
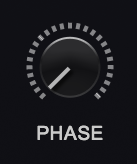
The PHASE control will only have an audible effect when it is heard combined with another layer, as phase changes can only be perceived in relation to another audio signal. The best way to understand the PHASE control is to set up a SYNTH sound on Layer A (with the ANALOG control to zero). Then, from the UTILITY menu select the Copy Layer option and select Layer B and select the Paste Layer option from the UTILITY menu. With two identical Oscillator Layers, changes in the Phase can easily be heard.
If the PHASE control is at minimum, then the Oscillator will be triggered at the start of the waveform. As the value is increased, the point in the waveform where the Oscillator will be triggered will be moved and it will be out-of-phase with the other Layer. When the horizontal slider is set to maximum, it will be 180° out-of-phase with the other Layer’s Oscillator.
Many interesting composite waveforms can be created with the PHASE control this way, and this technique is particularly useful for Synth Bass sounds.
*SHAPE (SYNTH ONLY) *
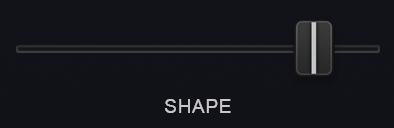
Moving this slider sweeps through the waveforms on the selected wavetable, and depending on the wavetable, can create subtle or dramatic changes. The waveform display will dynamically change the waveshape as the SHAPE slider is moved. The SHAPE slider is modulatable. When the oscillator is set to Noise, SHAPE becomes a complex filter control, which varies from white noise (all frequencies) at the minimum setting, to pink noise (exponentially reduced high frequencies) at the maximum setting.
SYMMETRY (SYNTH ONLY)
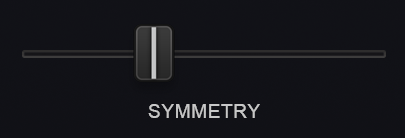
Symmetry varies the span of the waveform and is most commonly used for Pulse-Width Modulation (PWM). This is especially useful when SYMMETRY is used as a modulation destination, as it adds shifting tone color and movement to the sound. The waveform display will dynamically change the waveshape as the SYMMETRY slider is moved. When the oscillator is set to Noise, SYMMETRY becomes a morphing filter that sweeps through four different types of filters, starting at the minimum setting with lowpass to a notch filter, then to a highpass and finally to bandpass at the maximum setting.
HARD SYNC (SYNTH ONLY)

Hard Sync was a feature on some analog synthesizers which gave the timbre a “throaty” diphthong type of sonic characteristic when swept. Hard Sync was popularized on synthesizers like the Prophet 5 and the early Oberheim synthesizers for a more metallic and aggressive timbre, and is especially useful for lead sounds. Hard Sync is achieved by using two oscillators, one which is the “master” and the other the “slave.” The slave is forced to restart its waveform when hard-synced with the master oscillator and the master controls the pitch. Any changes in the slave oscillator’s pitch will not change the pitch of the master—they change the overtones and harmonic structure instead.
In the past, an oscillator would need to be sacrificed to get the hard-sync effect, but Omnisphere has a hidden, dedicated oscillator just for hard-sync. The Hard-Sync Oscillator becomes the slave and the Oscillator’s waveform is the master. The waveform display will dynamically change the waveshape as the HARD SYNC slider is moved. HARD SYNC is modulatable. When the oscillator is set to Noise, HARD SYNC acts as a stereo width control that is mono at the minimum setting and gradually spreads the noise into both right and left channels towards the maximum setting.
Need more help with this?
Spectrasonics Customer Support