
The Utility Menu provides options to Initialize or Clear Multis, Patches and Layers, and to Save Multis and Patches. There are also functions that allow Part and Layer settings to be copied and pasted.
Initialize vs. Clear (Multi, Patch, and Layer)
- When you select Initialize (Initialize Multi, Initialize Patch, or Initialize Layer), all synthesis parameters for the Multi, Patch, or Layer, will be restored to an unedited “default” state with a default waveform loaded as a starting point.
- When you select Clear Multi or Clear Patch, all existing parameters for the Multi or Patch will be completely reset and use no memory.
- When you select Clear Layer, it loads the corresponding Layer (A,B,C,D) from Part 1 in the Initial Multi.
- When Clearing or Initializing a Patch or Layer, the Mixer settings are retained.
Initialize Multi
- This menu action initializes all current Multi settings, including all Parts and FX. The Multi is returned to an unedited, “default” state, including the default sounds.
Clear Multi
- This menu action clears all 8 Parts by removing all current Multi settings, including Soundsources, and FX, resulting in a completely empty Multi.
Save Multi
- Selecting the Save Multi option will open a File Save dialogue. After naming and saving the Multi, the EDIT TAGS interface will open, allowing you to assign various Attribute Types and Assignments, add custom Assignments, and add your own Keywords and Notes to the Multi.
- Once you have finished editing the tags, click the SAVE button to finish saving the Multi. You may also cancel the save process by clicking the CANCEL button.
- When saving a Multi, the entire state of the plug-in is saved. This includes the MIXER, LIVE MODE, and STACK MODE settings, Multi FX, MIDI Learn assignments, as well as all Part settings. Even if a Part has been modified but not yet saved as an individual Patch, its settings will also be saved with the Multi.
Initialize Patch
- This menu action loads Part 1 from the Initial Multi into the current part, initializing all current Patch settings, including Modulation routing and FX. The Patch is returned to its unedited “default” state, including the default sound.
Clear Patch
- This menu action loads Part 2 from the Initial Multi (which is empty) into the Part and clears all current Patch settings, including Soundsources and FX. This results in a completely empty Patch.
Save Patch
- Selecting the Save Patch option will open a File Save dialogue. After naming and saving the Patch, the EDIT TAGS interface will open, allowing you to assign various Attribute Types and Assignments, add custom Assignments, and add your own Keywords and Notes to the Patch.
- Once you have finished editing the tags, click the SAVE button to finish saving the Patch. You may also cancel the save process by clicking the CANCEL button.
NOTE: Patches must be saved into a Category folder in the STEAM folder. This can be either an existing folder, or a user-created folder inside the Patches folder.
Save Patch As
- Selecting the Save Patch As option will open a File Save dialogue. After naming and saving the Patch, the EDIT TAGS interface will open, allowing you to assign various Attribute Types and Assignments, add custom Assignments, and add your own Keywords and Notes to the Patch.
- Once you have finished editing the tags, click the SAVE button to finish saving the Patch. You may also cancel the save process by clicking the CANCEL button.
Save Patch Quick
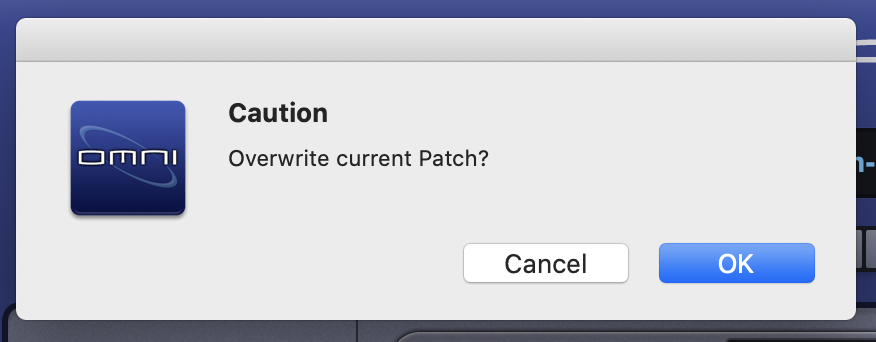
- When editing an already saved Patch, the new changes can be saved without having to bring up the save dialogue and Tag Editor. Save Patch Quick will simply overwrite the previous version. A confirmation dialogue will pop-up to confirm the save.
NOTE: Patches or DAW project files saved with Omnisphere 2.5 or later cannot be read by previous versions.
Revert to Saved Patch
- Reverts the Patch to the saved parameters.
Copy Part
- This command is used to copy the settings from a single Part. These settings can then be pasted to another Part using the Paste Part command. To copy a Part, select the Part using the Navigation Buttons in the Header, and then select the Copy Part command from the Utility Menu.
Paste Part
- After a Part has been copied using the Copy Part command, it can be pasted to another Part. To paste a copied Part, select the destination Part using the Navigation Buttons in the Header, and then select the Paste Part command from the Utility Menu.
Clone Part 1
- Selecting “Clone Part 1” copies Part 1 to Parts 2-8 and facilitates the use of Omnisphere with advanced MIDI controllers like a MIDI guitar, Haken Continuum, EigenHarp, MorphWhiz MIDI, etc., which have the ability to send MIDI messages in non-traditional ways. For example, on a MIDI guitar, each string is usually set to its own channel, and on the Haken Continuum and the Eigenharp, a new channel is picked for each successive note that is played.
- Using this feature with advanced controllers such as these expands the performance capabilities of Omnisphere by allowing pitch-bend and other Continuous Controller MIDI messages on individual notes. This is made possible by sending out consecutive notes on different MIDI channels.
- Also, if you make edits to the Patch in Part 1, you can easily copy the edited Patch to the other parts.
Initialize Layer
- This menu action loads Layer A from Part 1 in the Initial Multi, initializing all settings for the selected Layer, including Layer Modulation routings and FX. The Layer is returned to its unedited, “default state” and includes the default sound.
Clear Layer
- This menu action loads the corresponding Layer (A,B,C,D) from Part 1 in the Initial Multi, initializing all settings for the selected Layer.
Copy Layer
- This command is used to copy the settings from a single Layer. These settings can then be pasted to another Layer using the Paste Layer command. To copy a Layer, select it using the Layer tabs in the Edit Page, and then select the Copy Layer command from the Utility Menu.
Paste Layer
- After a Layer has been copied using the Copy Layer command, it can be pasted to another Layer. To paste a copied Layer, select the destination Layer using the Layer tabs in the Edit Page, and then select the Paste Layer command from the Utility Menu.
Need more help with this?
Spectrasonics Customer Support