
Omnisphere 2 is available as a download for registered users through our Webstore/Techshop. Once you downloaded Omnisphere 2 via the Download Manager, follow this set of instructions to install it on your Windows system. You’ll need roughly 128GB of free space available on your hard drive in order to continue (64GB for Omnisphere and 64GB for the downloaded installer, which can be removed, later).
NOTE: These screenshots are taken in Windows 10. Installation on other versions of Windows may look somewhat different.
Omnisphere 2 Installation
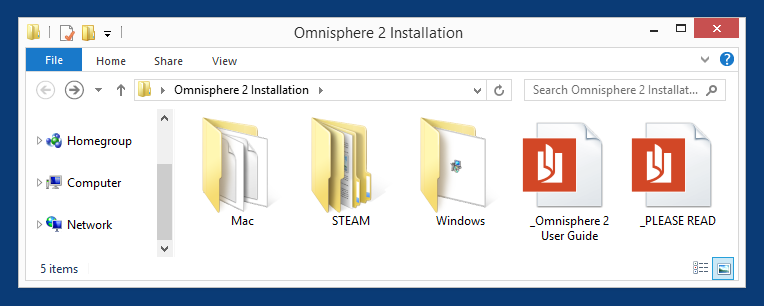
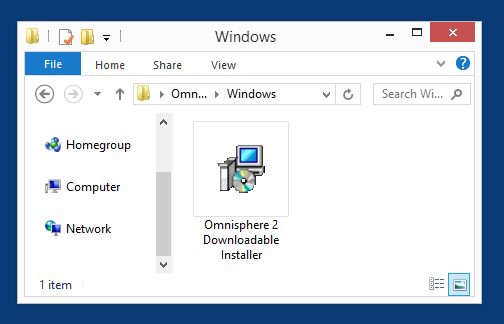
1. From your Downloads folder, open the “Omnisphere 2 Installation” folder and then the folder called “Windows.”
2. Double-click the file “Omnisphere 2 Downloadable Installer.exe.”
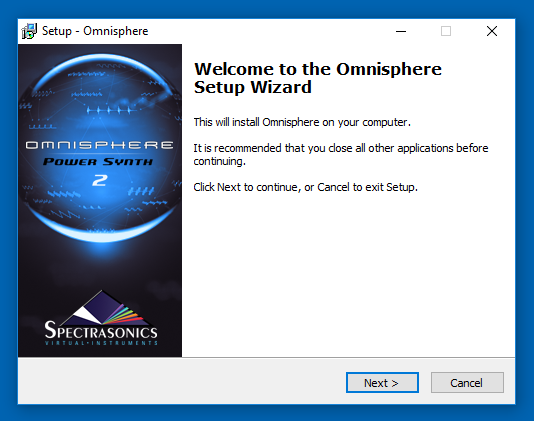
3. Click “Next” to begin the Omnisphere 2 installation process.
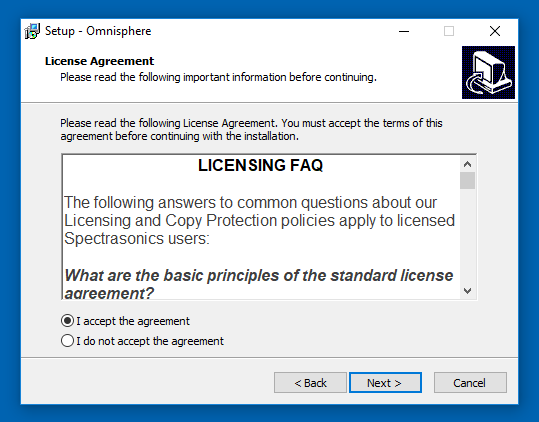
4. Follow the steps as you’re guided through the installation process. 5. Make sure to review the Installation Info and Licensing FAQs and accept the license agreement.
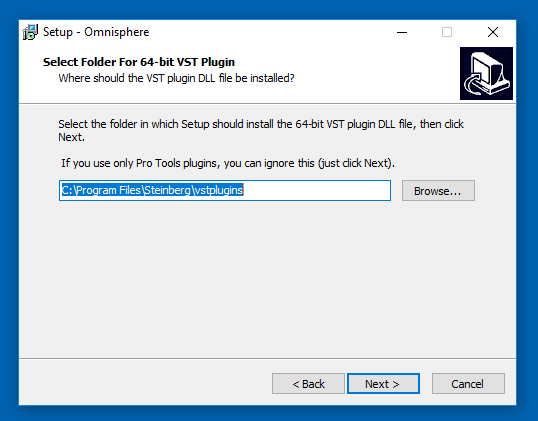
5. At the “Select Folder For 64-bit VST Plugin” step select the VST plug-in path on your system to install Omnisphere into. By default the 64-bit plugin will be installed in C:ProgramData\Steinberg\vstplugins\ but you can choose a different path (your host must support 64-bit plug-ins.)
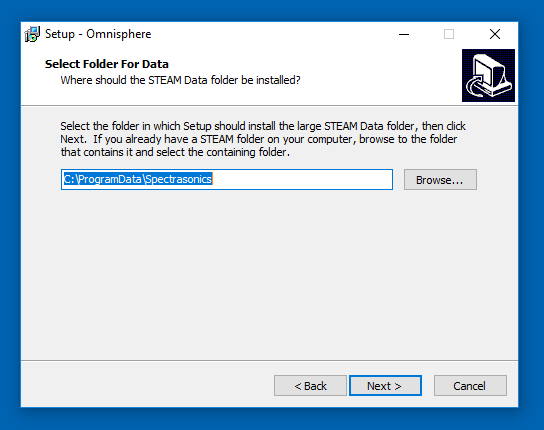
6. The default location of the large Omnisphere data files will be displayed next. If you wish to install the large Core Library files to a secondary drive, click the “Browse” button and choose a different location.
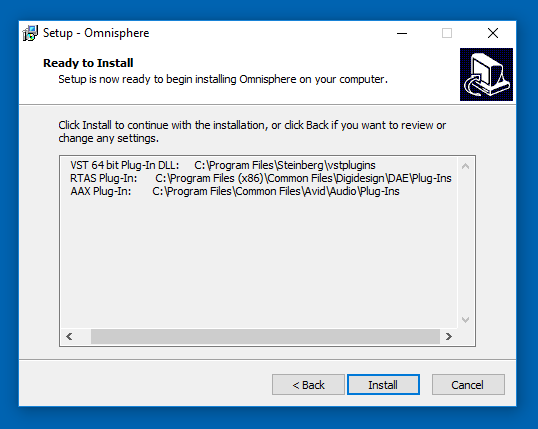
7. The “Ready To Install” step will confirm the installation paths, click the “Install” button to start the installation.
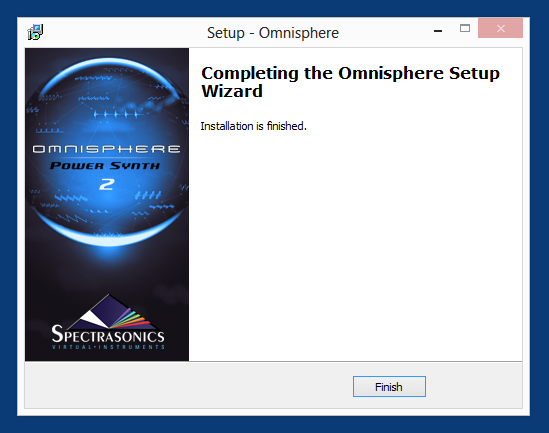
8. After the installation is complete, select “Finish.” Now it’s time to open Omnisphere 2 in your host and authorize it.
Please consult the Authorization section for assistance with authorizing Omnisphere.
Need more help with this?
Spectrasonics Customer Support