Follow this set of instructions to install Stylus RMX Xpanded from your USB installation drive onto your Windows system. You’ll need over 16GB of free space available on your hard drive in order to install the instrument.
NOTE: These screenshots are taken in Windows 10. Installation on other versions of Windows may look somewhat different.
Stylus RMX Xpanded Installation
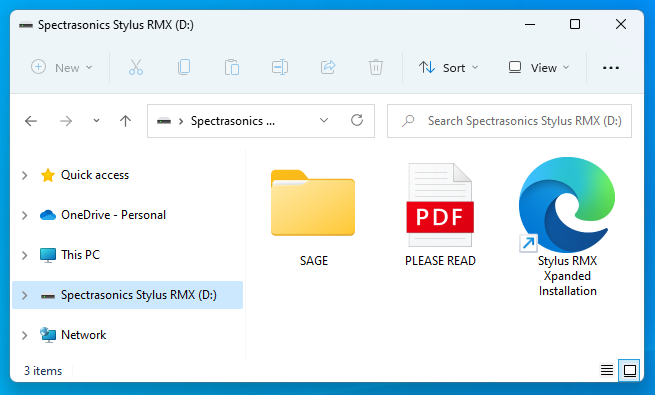
1. Connect the Stylus RMX Xpanded installation drive to a USB port. Open the drive “Spectrasonics Stylus RMX Xpanded” and double-click on “Stylus RMX Xpanded Installation.”
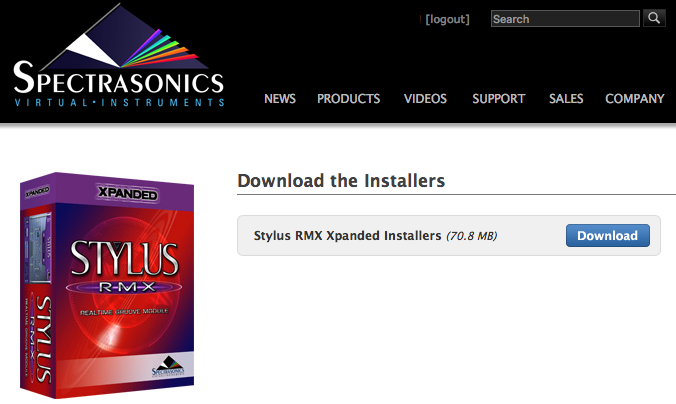
2. Log in to your Spectrasonics user account and select the DOWNLOAD button to download the current installers to your PC.
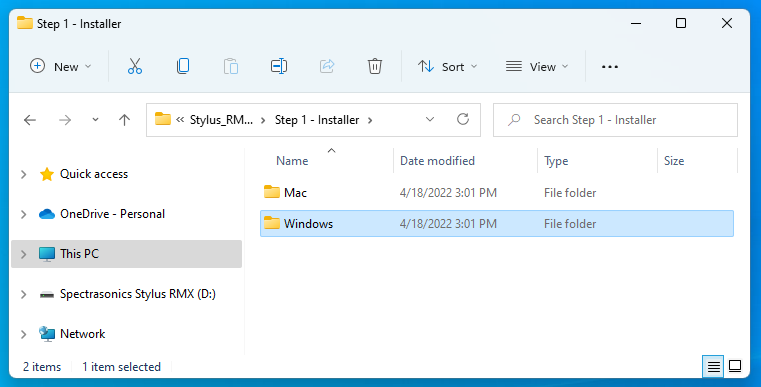
3. From your Downloads folder, open the “Stylus_RMX_Installation” folder. Open “Step 1 – Installer” and then the “Windows” folder.
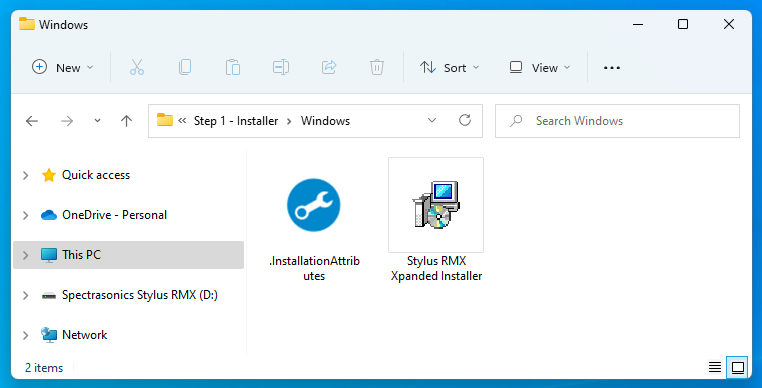
4. Open the “Windows” folder and double-click “Stylus RMX Installer.exe” to begin the installation of Stylus RMX.
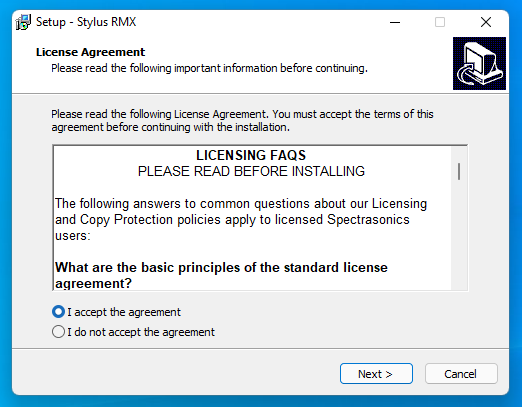
5. Follow the steps as you’re guided through the installation process. Make sure to review the Installation Info and Licensing FAQs and accept the license agreement.
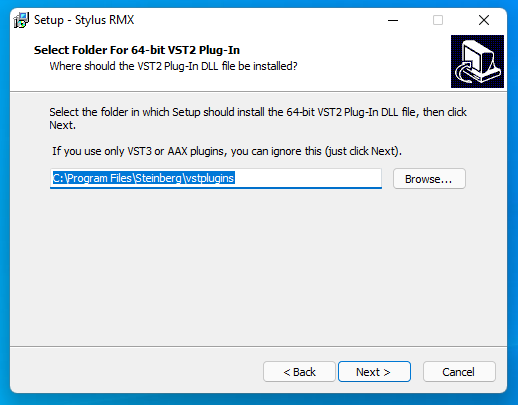
6. Select the path for the 64-bit VST plugin file.
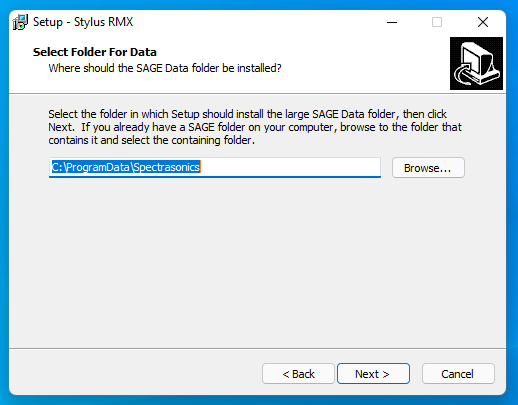
7. The default location of the large Stylus RMX data files will be displayed next. If you wish to install the core library to a secondary drive, click the “Browse” button to choose a different location.
NOTE: Stylus RMX Xpanded cannot be installed on a FAT32 or EXFAT formatted drive.
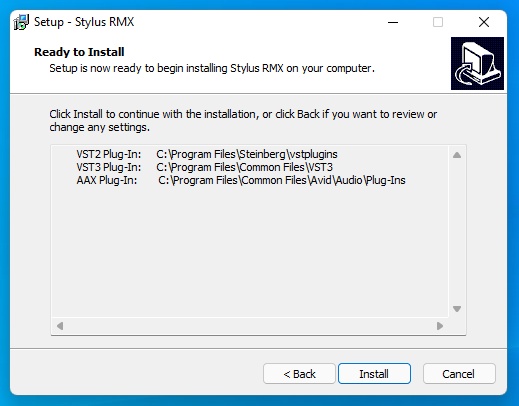
8. Once the installation paths have been confirmed at the “Ready To Install” step, the installation will begin. The large data files will now be copied to your selected drive. Allow up to 30 minutes to install all of the data.
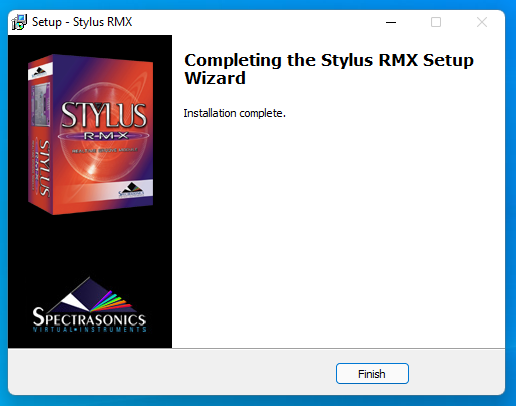
9. After the installation is complete, select “Finish.”
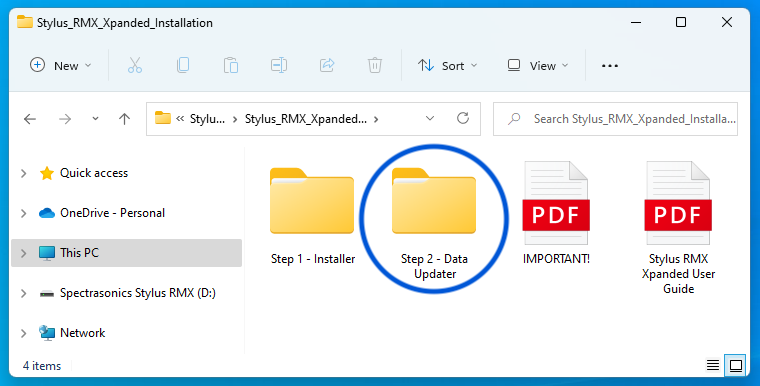
10. Next, from the Stylus RMX Xpanded Installation folder open the “Step 2 – Data Updater” folder.
11. Open the “Windows” folder and run the “Stylus RMX Data Updater” installer.
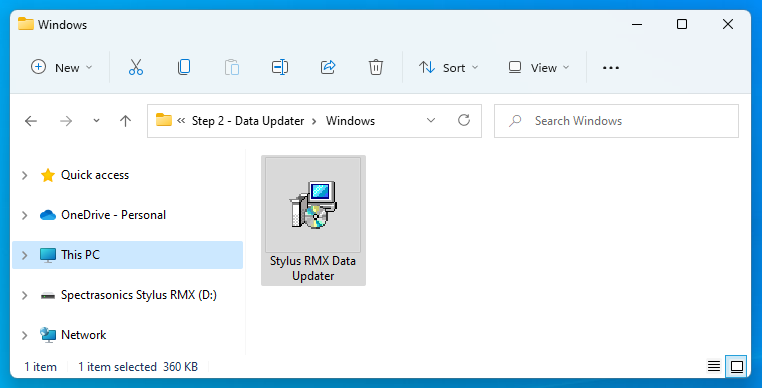
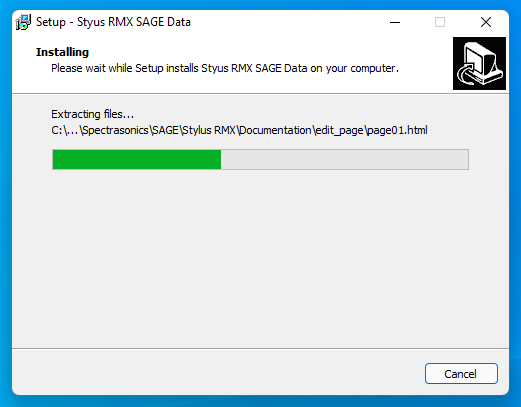
12. Follow the instructions. The installer will automatically update your Stylus RMX data folder “SAGE” and start the install.
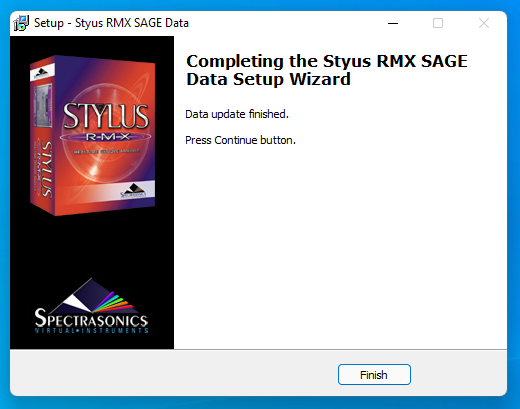
13. When the data updater is complete, select “Finish.”
Please consult the Authorization section for assistance with authorizing Stylus RMX.
