GETTING STARTED – Moving The STEAM
Directory
After installation, you can easily move the large
STEAM directory containing all the sound files to a secondary drive if you wish
to free up space on your original installation drive.
WINDOWS - MOVING THE STEAM DIRECTORY AFTER
INSTALLATION
• Drag
or copy the STEAM folder from
your installation drive (C:\Program Files\Spectrasonics) to the hard drive
location of your choice.
This can be another drive partition, a secondary
internal drive or an external hard drive such as a Firewire or USB2 hard drive,
etc.
• Next,
right-click the SAGE folder in the new location to create a “Shortcut To
STEAM”.
• Next,
copy the shortcut to C:\Program Files\Spectrasonics.
• Finally,
make certain to remove the “Shortcut To ” from the name (including removing the spaces),
leaving the folder shortcut named STEAM
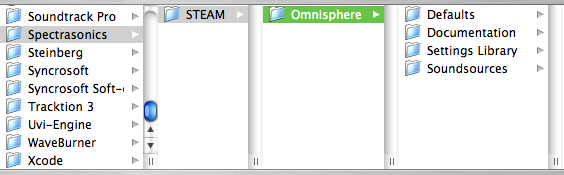
MAC OSX - MOVING THE STEAM DIRECTORY AFTER
INSTALLATION
• Drag
or copy the STEAM folder from
your installation drive
(For Example: Macintosh HD/Library/Application
Support/Spectrasonics)
to the hard drive location of your choice. This can be another drive partition, a secondary
internal drive or an external hard drive such as a Firewire or USB2 hard drive,
etc.
• Next, hold (Apple key and Option key) on the
keyboard, click and drag the STEAM folder to the desktop to create an alias of
the folder named STEAM.
• Next, move the STEAM alias from the desktop to Macintosh HD/Users/Username/Library/Application
Support/Spectrasonics