
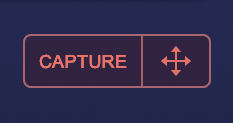
Located in the lower right corner of the Arpeggiator page, the CAPTURE button allows you to dynamically record and capture the output of the Arpeggiator, creating a MIDI clip.
The record length can be set to either 1, 2, 4, 8, or 16 bars—the choices appear when you click on the button.

Clicking on the CAPTURE button and choosing the length sets it to “record-ready” mode and the button will flash red.

The recording starts once you play the first note and continues for the specified length (the button will be solid red while recording).
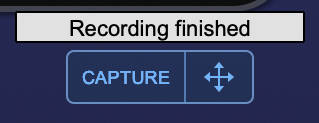
When the recording is complete, the button will revert to blue and you can drag the MIDI clip from the Drag and Drop icon to the right of the button to the Mac Finder, Windows Desktop, or directly into your DAW to edit any way you want.
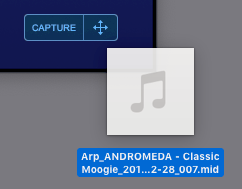

If you wish to change anything about the Capture, you can repeat the process until you are satisfied, or, if you want to keep all your Captures in order to compare them, drag them the Mac Finder or Windows Desktop before re-recording and they will be numbered chronologically.
Auto Off
When Auto Off is selected, it will display a checkmark (this is the default setting).
Once you drag the MIDI file to its destination, the ARPEGGIATOR will be turned OFF.
If you want it to remain ON for further Captures, simply uncheck this menu item (the checkmark will disappear).
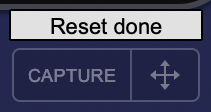
Once you are finished with your Capture(s), you can use the RESET function at the bottom of the pop-up menu and the CAPTURE button will return to grey.
NOTE: Slides will be represented in the MIDI clips as Pitch Bend data with a range of +/- 2 octaves.
Need more help with this?
Spectrasonics Customer Support